Loading...
Loading...
Loading...
Loading...
Loading...
Loading...
Loading...
Loading...
Loading...
Loading...
Create clear guidelines for using formatting templates and language settings to ensure all documents are consistent.
Regularly train employees on the correct use of templates and language settings.
Encourage employees to spell check before finalizing a document to identify and correct typos and grammatical errors.
Use versioning and change tracking to track edit history and ensure traceability of changes.
Carefully document changes and comments to support the review process and facilitate collaboration.
Set clear access restrictions to ensure that confidential documents can only be viewed and edited by authorized people.
Regularly update passwords and access rights to ensure security and meet compliance requirements.
Regularly train employees on how to use DocBits and its features effectively.
Stay up to date with updates and new features and implement them as needed to improve efficiency and security.
Create clear document processing policies and workflows that cover the use of the various settings and features.
Document compliance requirements and ensure that all employees understand and adhere to them.
By implementing these best practices, you can increase efficiency in DocBits, improve data accuracy, and ensure that it meets relevant compliance requirements.
Check that all additional parameters are correctly configured and meet business requirements.
Make sure that the configuration matches system requirements and user needs.
Make sure that the connection to the IDM system is correctly configured and that all necessary permissions are in place.
Check that the document format is compatible with the requirements of the IDM system.
Make sure that the tolerance limits are realistic and feasible.
Check regularly that the tolerance limits meet current business requirements.
Test the export in different formats to make sure that all required information is exported correctly.
Make sure that the export formats are compatible with the requirements of the recipients or target systems.
Review the status deactivation configuration to ensure it is not unnecessarily blocking the workflow.
Make sure all users are aware of the status changes and know how to respond.
By applying these settings and best practices, organizations can streamline their document processing processes, improve data accuracy, and ensure regulatory compliance.
Ga naar Instellingen → Documenttypen → Factuur → Meer Instellingen zoals weergegeven in de onderstaande screenshot
De gebruiker heeft twee opties voor het detecteren van dubbele facturen:
Detectie van Dubbele Documenten Deze functie controleert op duplicaatdocumenten die zijn geüpload naar DocBits op basis van de geselecteerde criteria. Als de geselecteerde criteria overeenkomen tussen documenten, zal het systeem het document als een duplicaat markeren.
Duplicaatfactuur opsporen Deze functie vereist dat Leveranciersfacturen worden gesynchroniseerd van Infor naar DocBits. Het vergelijkt de factuurnummers in het DocBits factuurdashboard met die in Infor. Als hetzelfde factuurnummer meer dan eens wordt geüpload, zal het als een duplicaat worden gemarkeerd.
OPMERKING: Het gebruik van de functie Duplicaatfactuur opsporen resulteert in een extra kredietkosten.
Zodra de instelling is ingeschakeld, kan de gebruiker de criteria voor dubbele detectie selecteren
Zodra Dubbele Detectie is ingeschakeld in de instellingen, toont het dashboard een pictogram voor alle facturen die als dubbele zijn geïdentificeerd op basis van de opgegeven criteria. Door op dit pictogram te klikken, worden de dubbele records in een gesplitst scherm weergegeven voor gemakkelijke vergelijking
Wanneer de gebruiker het document opent, wordt er een waarschuwingsbalk weergegeven voor de dubbele facturen, zoals weergegeven in de screenshot
As an admin, you have the ability to view and manage the mappings between internal item numbers and supplier item numbers. This feature ensures that discrepancies between your system and your suppliers' systems are handled efficiently. You can review, edit, and delete incorrect mappings to maintain data accuracy.
Accessing the Supplier Item Number Map
Navigate to Settings:
Go to the Settings section in your admin dashboard.
Access Document Types:
Under Settings, select Document Types.
More Settings:
Click on More Settings to access additional configuration options.
Supplier Item Number Map:
In the More Settings section, you will find the Supplier Item Number Map table. This table lists all the current mappings between your internal item numbers and the corresponding supplier item numbers.
Viewing Mappings:
The table displays the following columns:
Supplier ID: The unique identifier for the supplier.
Item Number: Your internal item number for the product.
Supplier Item Number: The corresponding item number used by the supplier.
Action: Options to manage the mappings.
Deleting Incorrect Mappings:
If you identify an incorrect mapping, you can delete it by clicking the trash can icon (🗑) in the Action column.
A confirmation prompt will appear to ensure that you want to delete the mapping.
Editing Mappings:
(If applicable) You may also have the option to edit existing mappings to correct any discrepancies. This could involve clicking on the item or supplier number to make changes.
Identify Discrepancies:
Regularly review the Supplier Item Number Map to identify any discrepancies or incorrect mappings.
Delete Incorrect Mappings:
For any incorrect mappings, click the trash can icon to delete them.
Re-enter Correct Mappings:
Ensure that correct mappings are entered either manually during the next transaction or by editing the existing entries if the system supports it.
Het gebied Meer Instellingen stelt beheerders in staat om verschillende aspecten van documentverwerking te configureren die niet in de basisinstellingen zijn opgenomen. Dit omvat opties voor tabelextractie, documentbeoordeling, PDF-generatie, goedkeuringsprocessen en instellingen die specifiek zijn voor bepaalde operaties zoals inkooporders of boekhouding.
Tabelextractie:
Sla tabelvalidatie over: Maakt het mogelijk om het validatieproces voor tabelgegevens over te slaan, wat nuttig kan zijn in scenario's waar gegevensvalidatie flexibel moet zijn.
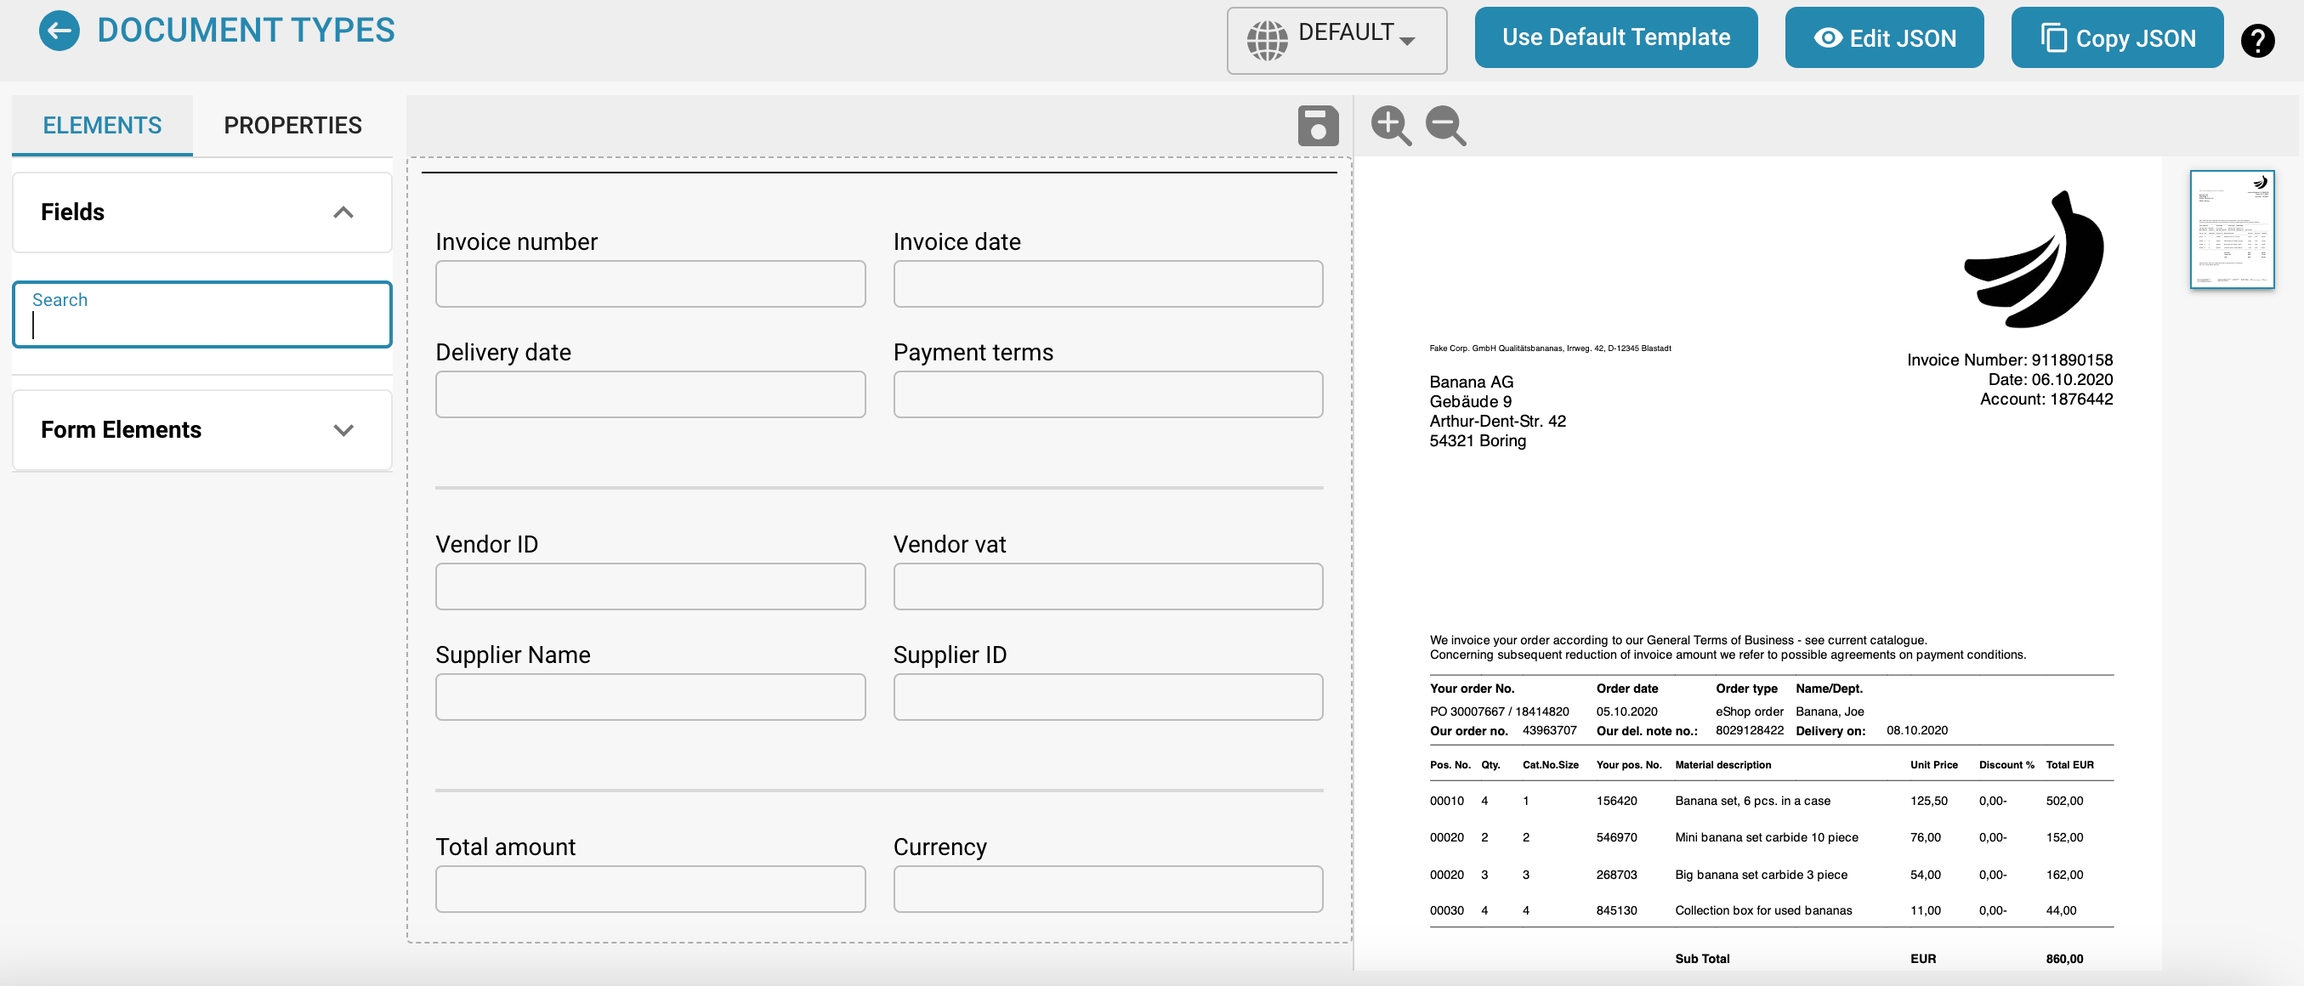
In Beoordeling:
Ontwerp in Beoordelingsformulier: Configureert de lay-out en velden die verschijnen in de beoordelingsformulieren die tijdens het documentbeoordelingsproces worden gebruikt.
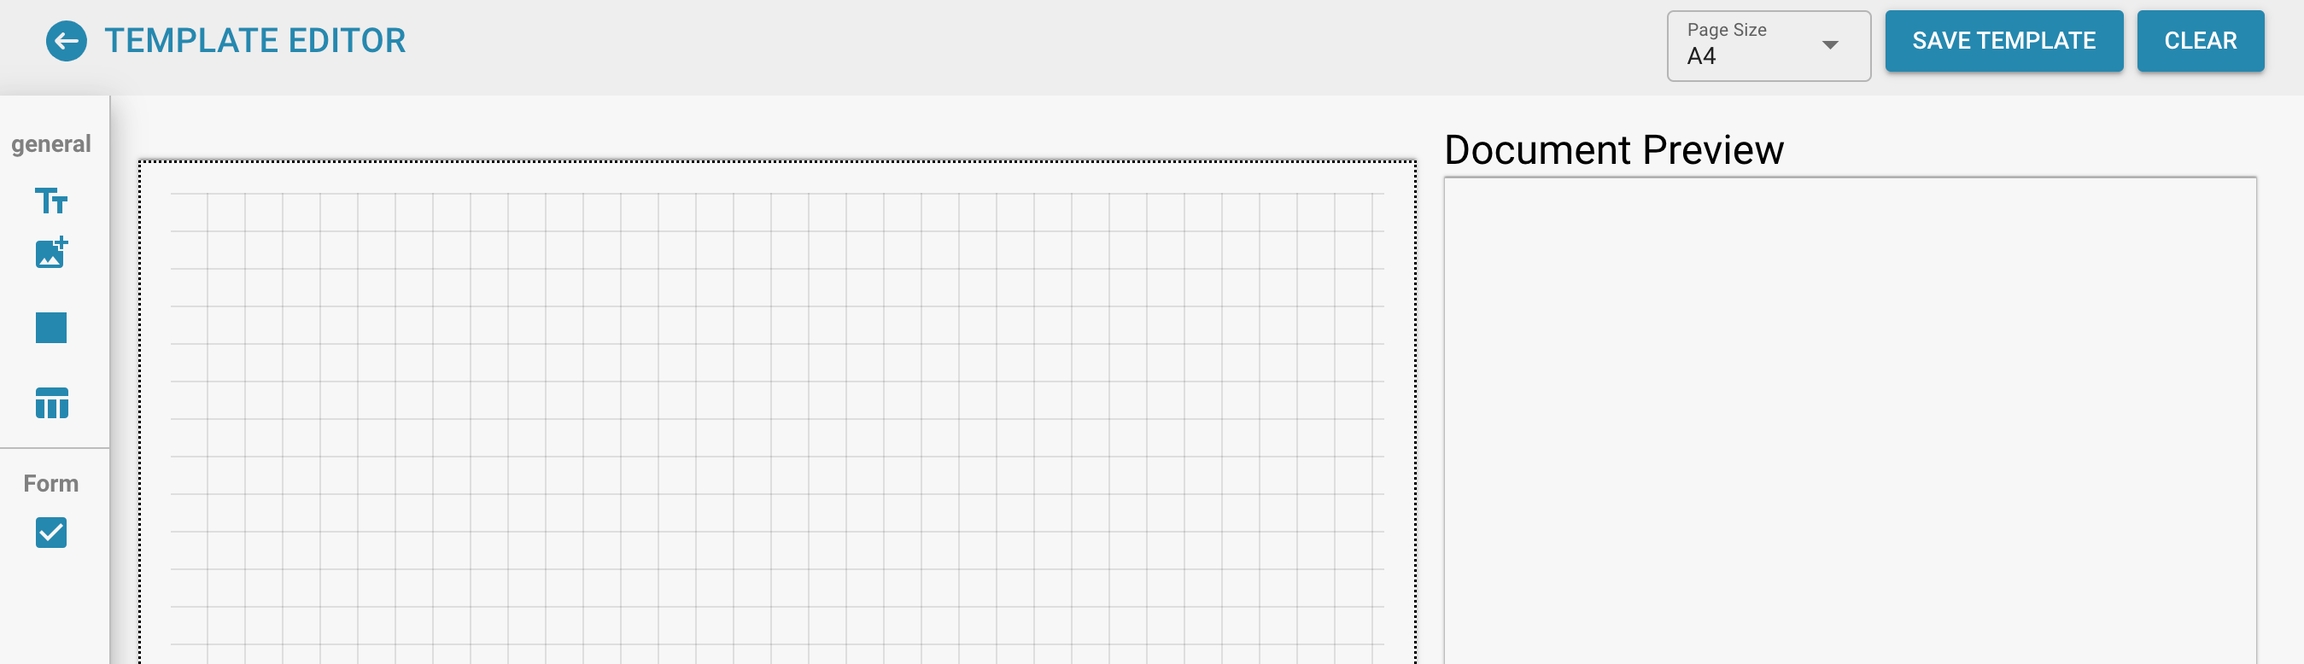
PDF-generatie:
Ontwerp Sjabloon: Specificeert het sjabloon dat wordt gebruikt voor het genereren van PDF-versies van de documenten, wat cruciaal kan zijn voor archivering of externe communicatie.
Goedkeuring:
Goedkeuren vóór export: Zorgt ervoor dat documenten goedgekeurd moeten worden voordat ze uit het systeem kunnen worden geëxporteerd.
Tweede Goedkeuring: Voegt een extra laag van goedkeuring toe voor verdere validatie, waardoor de controle over documentverwerking wordt verbeterd.
Inkooporder / Auto Boekhouding:
PO-tabel in lay-outbouwer: Maakt het mogelijk om inkoopordertabellen op te nemen in de lay-outbouwer voor aangepaste documentlay-outs.
Inkooporder: Schakelt de verwerking van inkooporderdocumenten binnen het systeem in of uit.
PO Tolerantie-instelling: Stelt tolerantieniveaus in voor inkooporderhoeveelheden, wat helpt bij het accommoderen van kleine afwijkingen zonder ze als fouten te markeren.
Document Alternatieve Export:
PO-statussen uitschakelen: Maakt het mogelijk om bepaalde statussen voor inkooporders tijdens het exportproces uit te schakelen, wat flexibiliteit biedt in de manier waarop bestellingen worden behandeld.
Leverancier Artikelnummer Kaart:
Een hulpprogramma-instelling die leverancier artikelnummer koppelt aan interne artikelnummer, wat zorgt voor nauwkeurigheid in voorraad- en inkooporderbeheer.
Purpose:
This setting allows you to skip validation of tables.
Use:
This is useful when using tables whose structure changes frequently or when validation causes unnecessary delays. Skipping validation can speed up processing, but this should only be used if data quality is otherwise assured.
Purpose:
This setting enables the automatic detection of duplicate documents based on selected fields.
Use:
This tool is designed to prevent the same documents being processed twice, ensuring efficiency in the processing workflow.
Purpose:
This setting allows you to design documents directly in review mode.
Use:
Useful for taking visual feedback and annotations into account during review and making design changes in real time. This improves the efficiency of the review process and allows designers and reviewers to work more closely together.
Purpose:
This setting allows you to design the view of rejected documents directly.
Use:
Useful for taking visual feedback and annotations into account while making design changes in real time. This improves the efficiency of the review process and allows designers and reviewers to work more closely together.
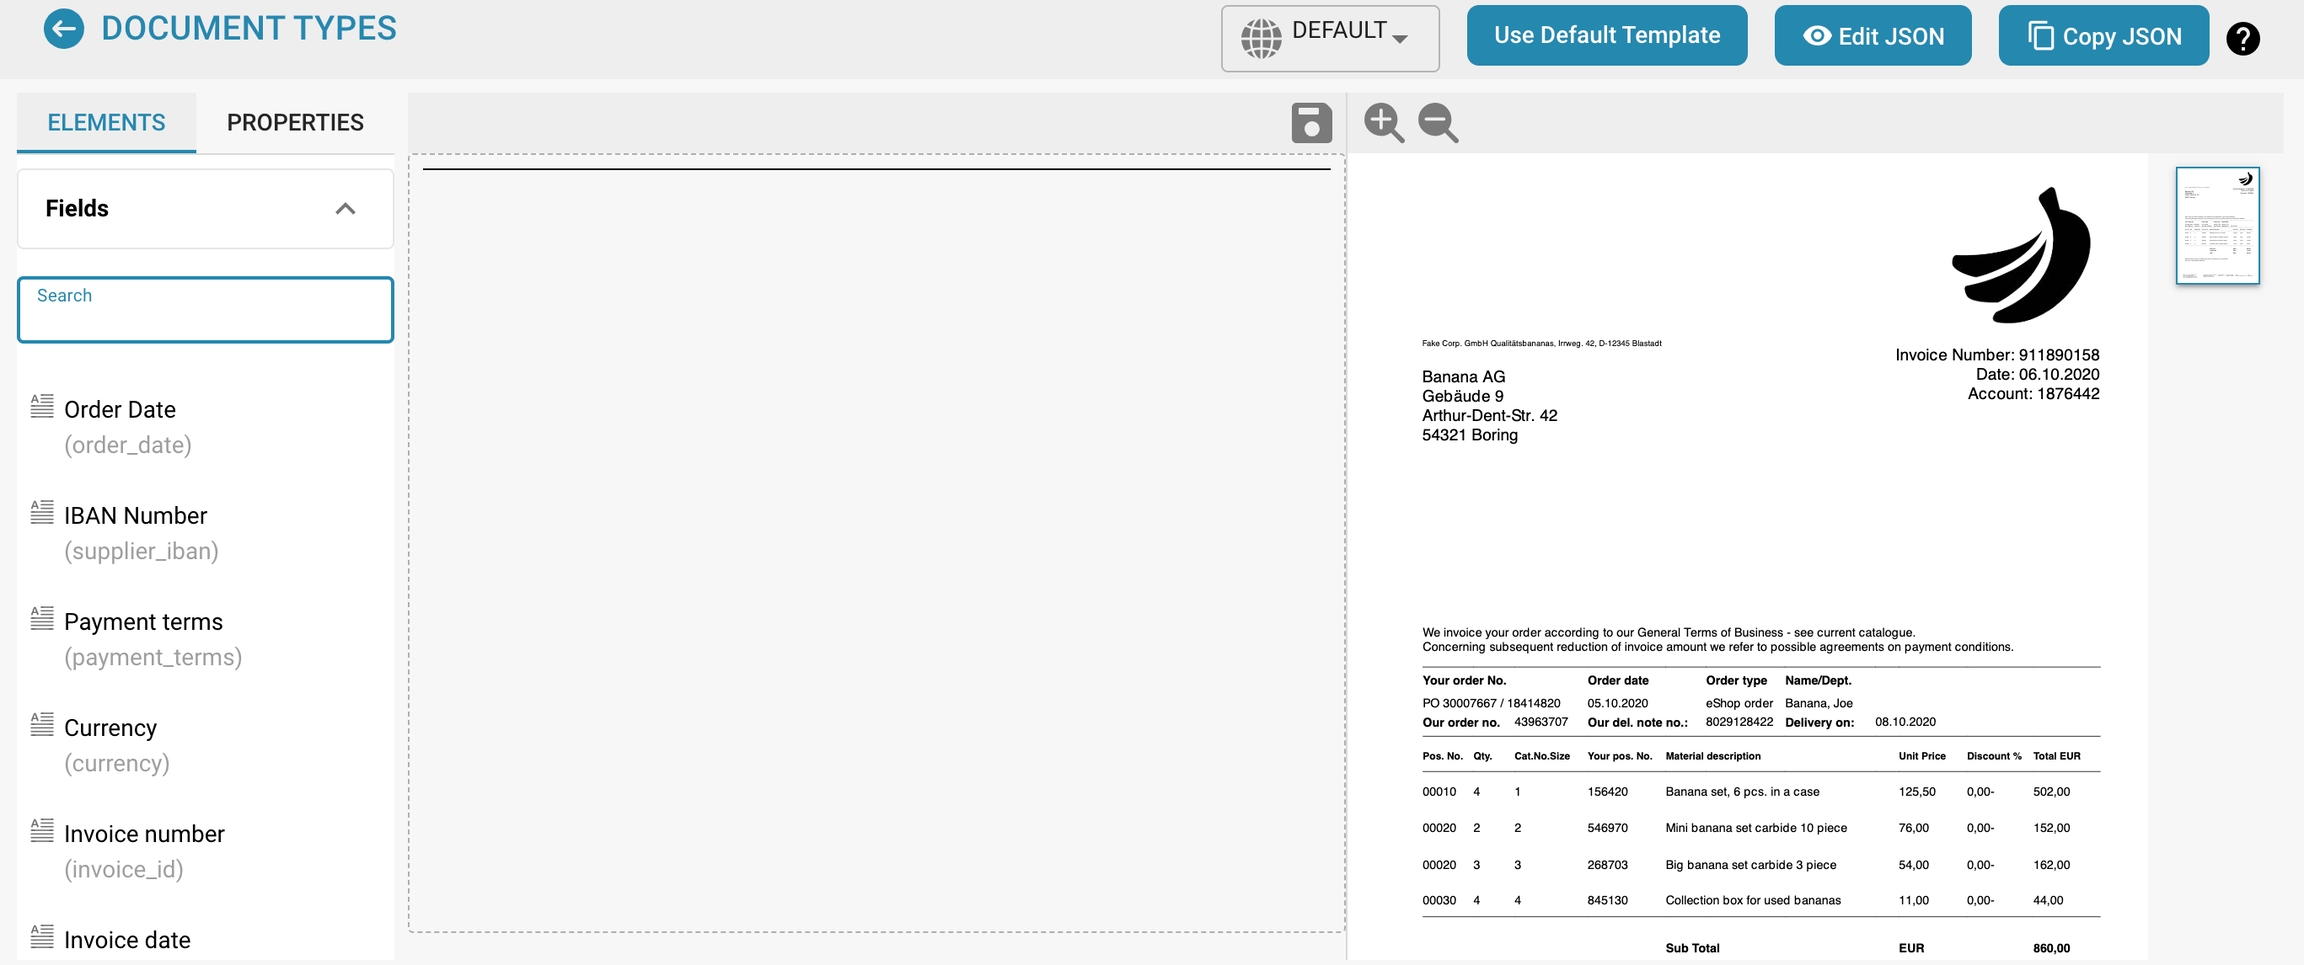
Purpose:
Templates for standardizing document layouts and formatting.
Use:
Makes it easier to create consistent and professional documents. Companies can create their own design templates that follow brand guidelines and formatting standards, increasing efficiency and improving the appearance of the documents.
Purpose:
This setting enables documents to be exported to an Information Document Management System (IDM).
Use:
This function is used to export documents directly from the creation or review system to an IDM system to store, manage and facilitate access to them centrally. This improves the organization and traceability of documents, ensures that they are kept securely and makes it easier to comply with compliance regulations.
Purpose:
Document approval workflow.
Use:
Defines approval steps and responsibilities. This setting is critical for compliance with company policies and regulatory requirements. It ensures that all relevant parties have reviewed and approved the document before it is finalized. Once the document is finalized, it can be stamped with an approval stamp.
Design Approval Form:
Design Approval Form v2:
Design Second Approval form:
Purpose:
Automates the processing and posting of purchase orders.
Usage:
Facilitates the automatic creation and processing of purchase orders and their posting in financial systems. This saves time, reduces errors and improves efficiency in the purchasing and accounting process.
Purpose:
Enables the integration of purchase order tables into the layout of documents.
Usage:
Designs purchase order tables directly in the Layout Builder and adapts them to specific requirements. This ensures a seamless and consistent design of documents containing purchase order information.
Purpose:
Exports purchase order lines that do not match the existing purchase orders.
Usage:
Identifies and exports lines that may contain errors or require special review. This helps to detect and correct discrepancies before the orders are completed.
Purpose:
Defines tolerance limits for deviations in purchase orders.
Usage:
Determines how much deviation from the order is acceptable without requiring additional approval.
This include price or quantity deviations. This setting helps streamline the approval process and avoid unnecessary delays.
Purpose:
These settings provide advanced configuration options for purchase orders (POs) to meet specific business requirements.
Usage:
You can set additional parameters and conditions for purchase orders, such as delivery terms, specific payment terms. This facilitates precise control and customization of the purchase order processes, thereby improving efficiency and accuracy in purchasing.
Purpose:
This setting allows documents to be exported in different formats or via alternative methods.
Usage:
You can specify in which formats (e.g. PDF, DOCX, XML) or via which channels (e.g. email, cloud storage) documents should be exported. This increases flexibility and allows documents to be exported according to the requirements of different recipients or systems.
Purpose:
This setting allows certain statuses of purchase orders to be disabled or locked in order to control the workflow.
Usage:
Companies can specify which statuses should be disabled in certain situations to prevent orders from being edited or modified incorrectly. This is useful to ensure the integrity and consistency of the purchase order process.
For example, an order that has already been approved and released for delivery could no longer be processed or cancelled.
Additional PO Settings:
Individual customization:
Allows the adjustment of the order settings to specific business requirements, which increases efficiency and accuracy in purchasing.
Controlled processes:
Supports the implementation of detailed purchasing rules and procedures.
Additional PO Tolerance Settings:
Efficient approval processes:
Minimizes unnecessary approval steps by setting clear tolerance limits.
Risk management:
Helps to identify significant deviations at an early stage and take appropriate action.
Document Alternative Export:
Flexibility:
Allows the export of documents in different formats that meet the requirements of different systems and recipients.
Efficiency:
Automates the export process, reducing manual work and errors.
PO Disable Statuses:
Process control:
Prevents unwanted changes or edits to orders that are already in an advanced status.
Security:
Protects the integrity of the ordering process and ensures that only authorized changes are made.
Deze instelling regelt de toegankelijkheid van de Purchase Order (PO) tabel in de Layout Builder en het Validatiescherm.
Om deze functie in te schakelen:
Ga naar Instellingen → Algemene instellingen → Documenttypen → Meer instellingen → Aankoopordersectie → PO-tabel in Layout Builder.
Schakel de instelling in om de Purchase Order tabel zichtbaar te maken.
Wanneer ingeschakeld:
De Purchase Order tabel verschijnt in de Tabelsectie in de Layout Builder.
Er wordt geen melding weergegeven dat de module is uitgeschakeld.
Wanneer uitgeschakeld:
Een hint geeft aan dat de module is uitgeschakeld.
De PO-tabel is niet zichtbaar in het Validatiescherm.
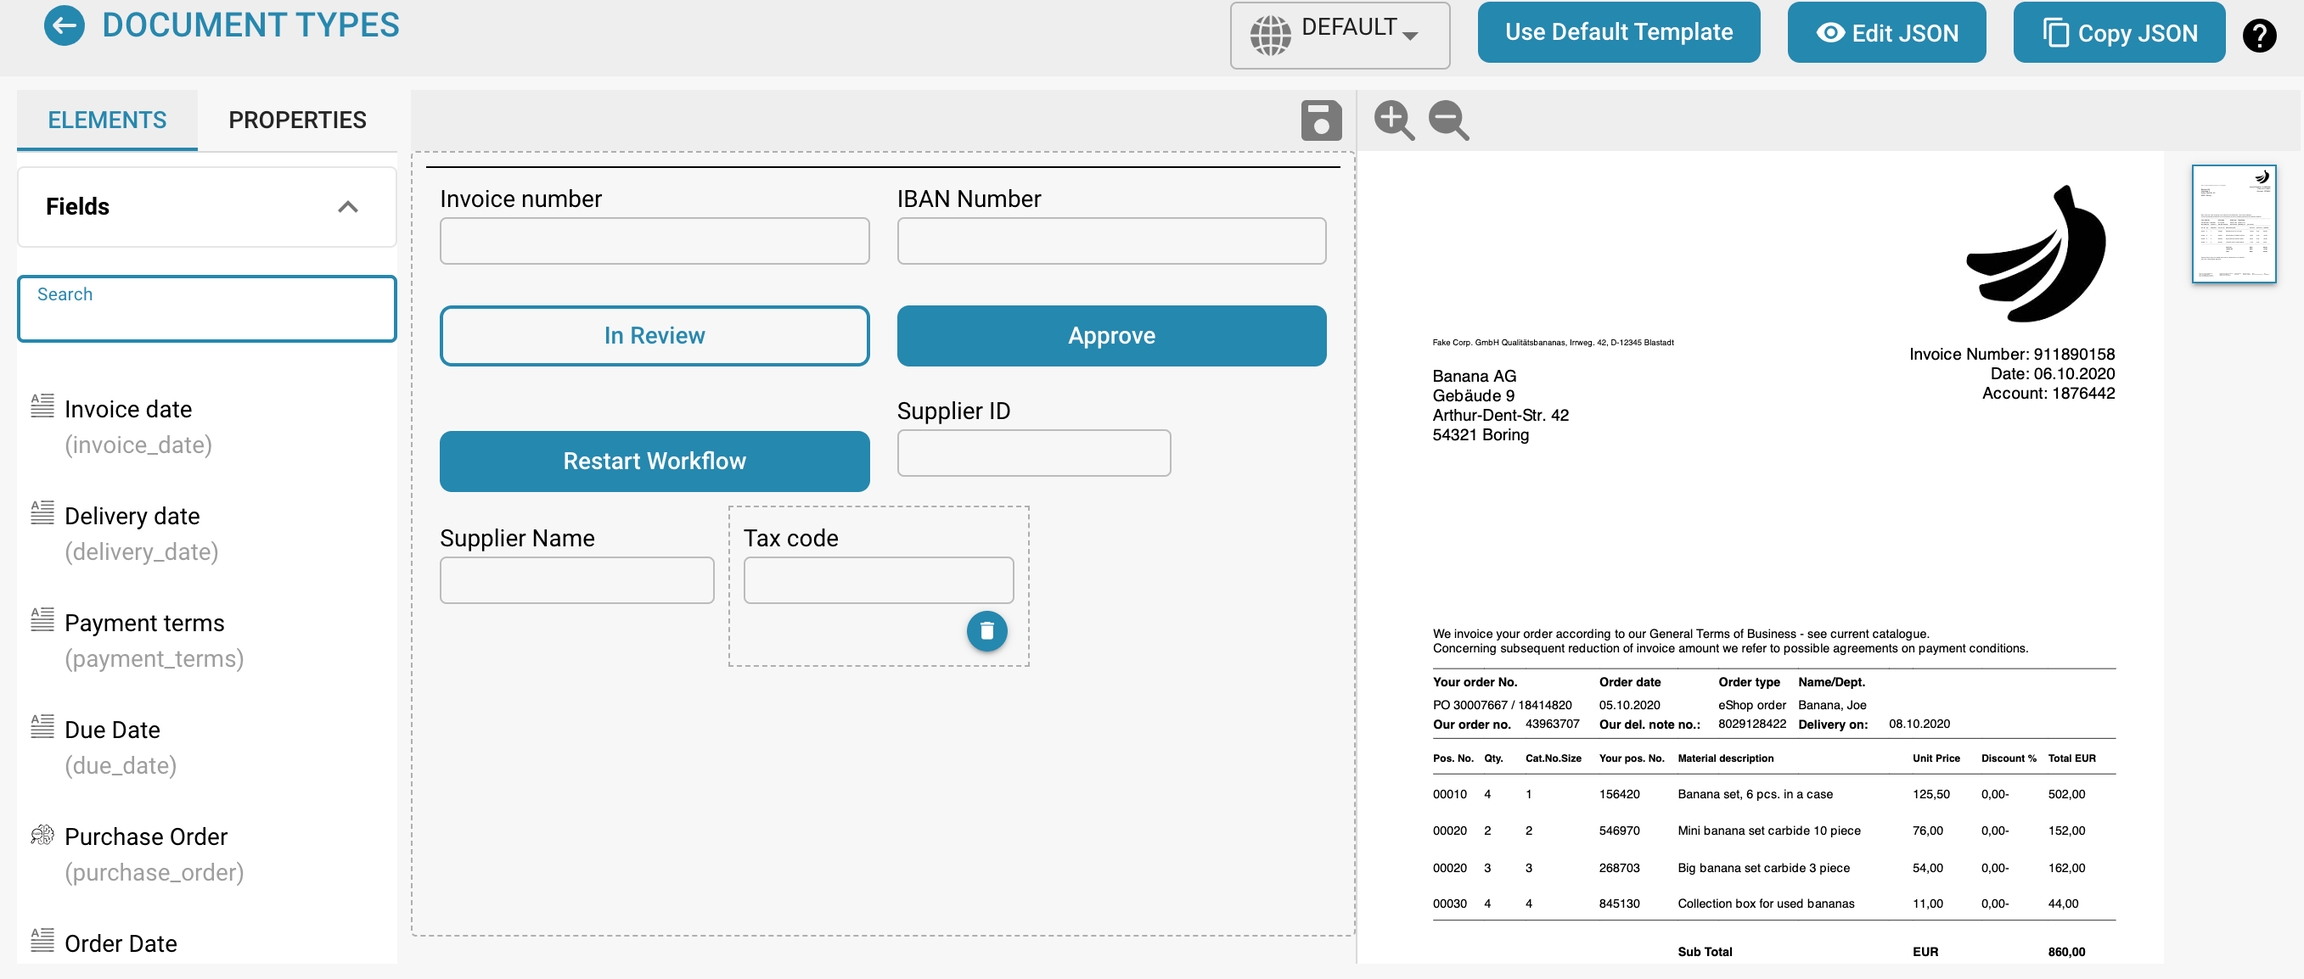
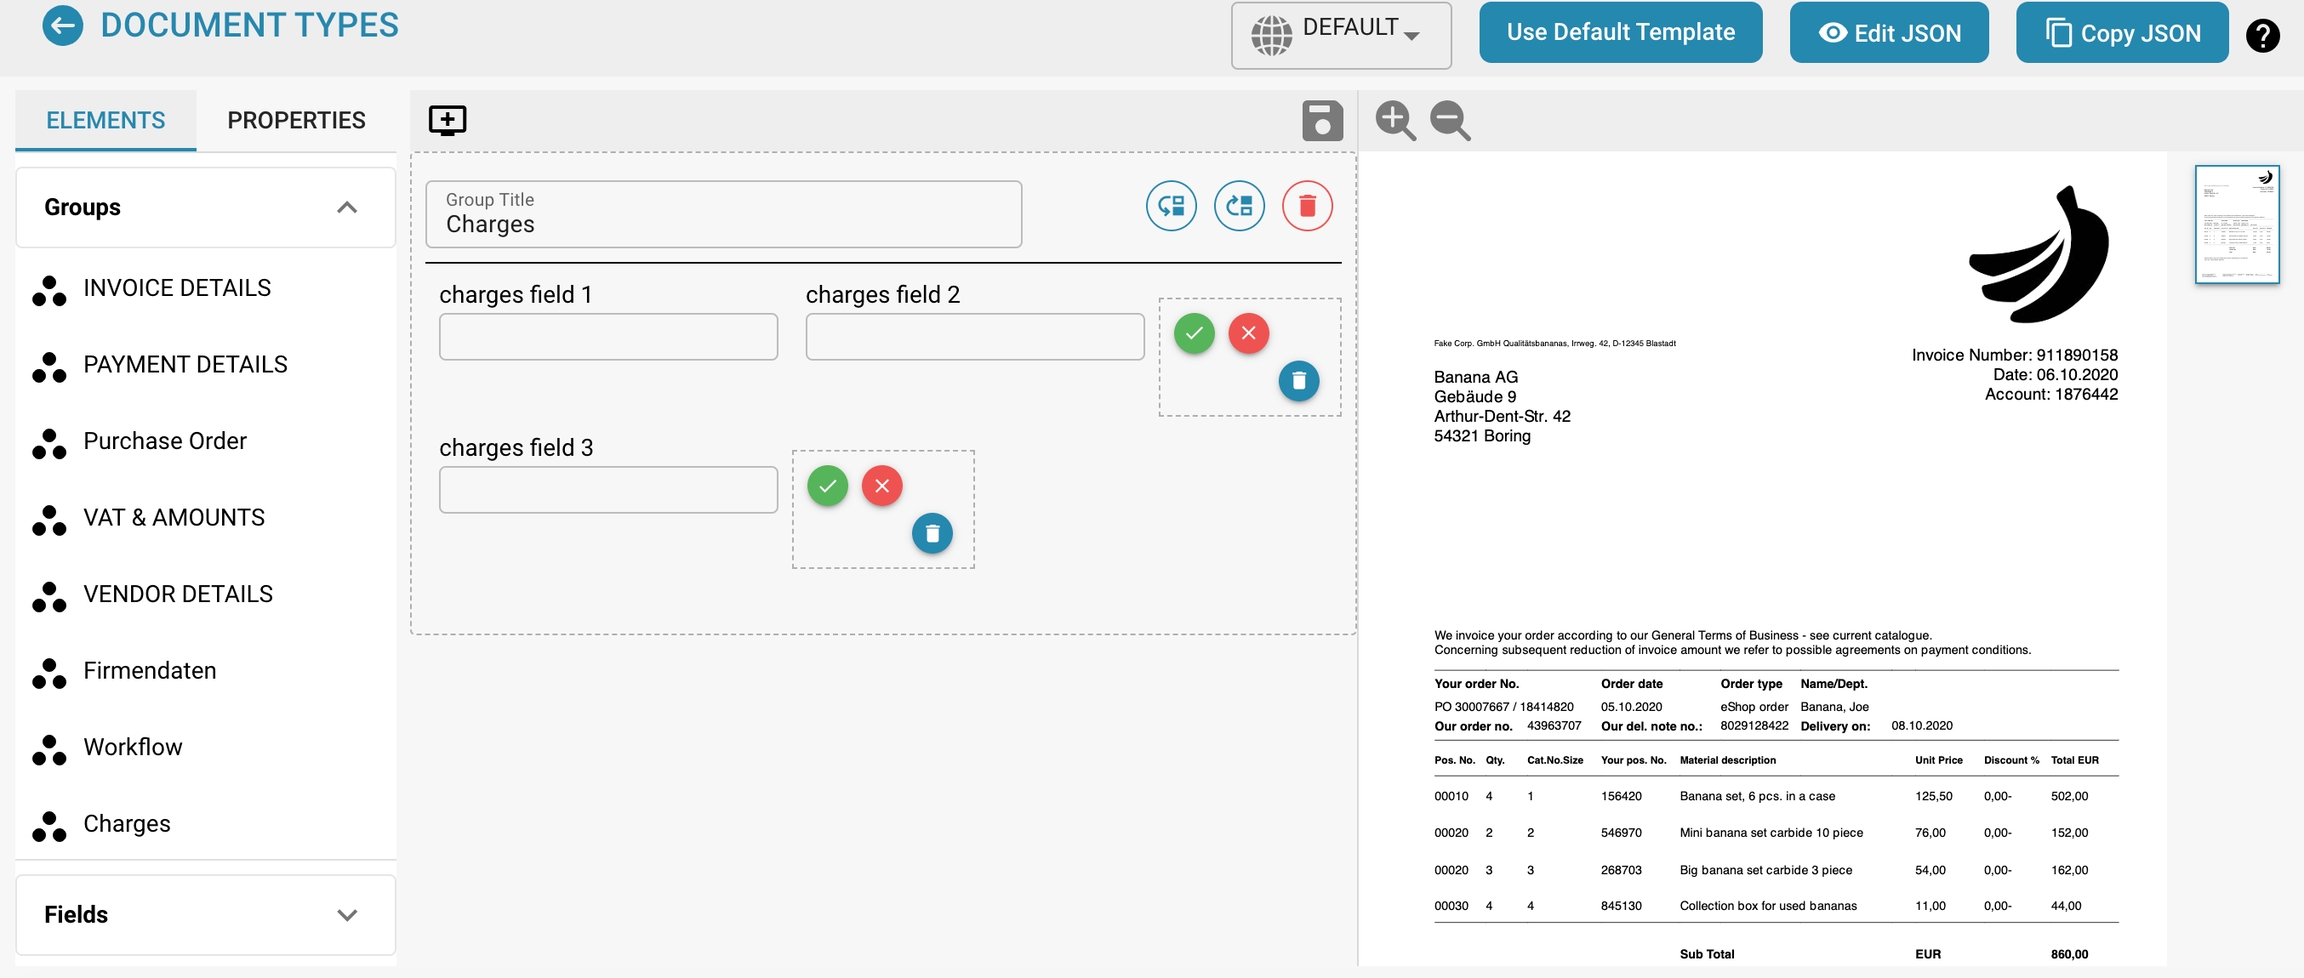
Hoe toegang te krijgen tot de Layout Builder
Navigeer naar Instellingen → Algemene instellingen → Documenttypen → Layout bewerken.
De PO-tabel terug toevoegen aan de Layout
Als de PO-tabel ontbreekt of is verwijderd, volg dan deze stappen:
Open de Layout Builder.
Onder Formulierelementen, selecteer Uitgehaalde tabellen.
Voeg de PO-tabel toe aan uw layout.
Zodra toegevoegd en ingeschakeld, zal de PO-tabel zichtbaar zijn in de Layout Builder en het Validatiescherm wanneer er een aankooporder beschikbaar is voor een factuur.
Ga naar Instellingen → Algemene Instellingen → Documenttypen → Meer Instellingen → Aankooporder Sectie → PO Uitschakelen Statussen
De PO Uitschakelen Statussen instelling stelt gebruikers in staat om aankooporder (PO) statussen op te geven die voorkomen dat facturen aan die PO's worden gekoppeld. Als een aankooporder een status heeft die in deze instelling is vermeld, kan deze niet worden gebruikt voor factuurmatching in het PO-matching scherm. Dit stopt verdere verwerking van de PO totdat de status verandert naar een die niet is uitgeschakeld.
Dit stopt verdere verwerking van de factuur totdat de status van de PO verandert naar een die niet is uitgeschakeld. Door deze instelling te gebruiken, kunnen gebruikers ervoor zorgen dat aankooporders met specifieke statussen geen verdere factuurverwerking ondergaan, waardoor fouten worden verminderd en onnodige betalingen worden voorkomen.
In het PO Matching scherm verschijnt een uitgeschakelde aankooporder doorstreept. Dit geeft visueel aan dat de PO momenteel niet kan worden gematcht vanwege zijn status.
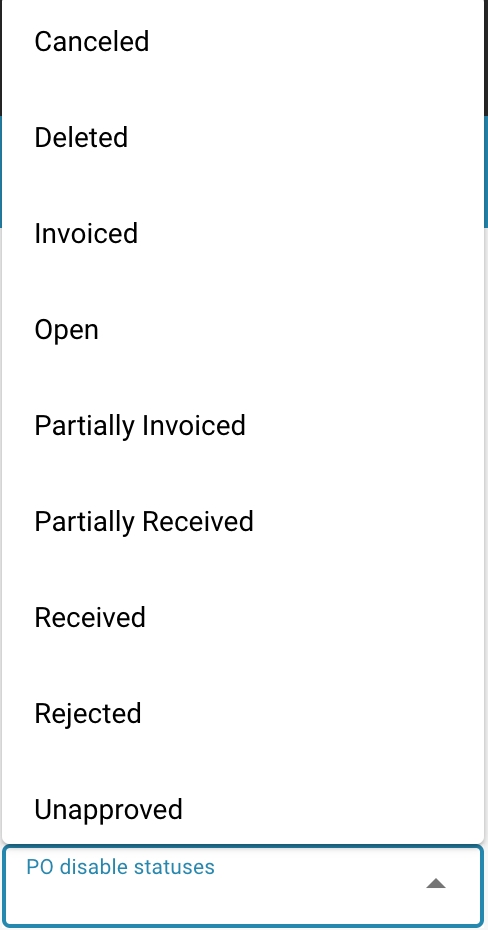
In de PO Uitschakelen Statussen instelling zie je een selectievak aan de linkerkant.
Door op dit vak te klikken, opent een dropdownlijst met beschikbare PO statussen.
Selecteer een of meer statussen door erop te klikken. Klik opnieuw om te deselecteren.
Klik op de Toepassen knop om je wijzigingen op te slaan.
Beschikbare Statussen
Geannuleerd
Verwijderd
Gefactureerd
Open
Gedeeltelijk Gefactureerd
Gedeeltelijk Ontvangen
Ontvangen
Niet-goedgekeurd
In Behandeling
Gesloten
Ga naar Instellingen → Algemene Instellingen → Documenttypen → Meer Instellingen → Aankooporder Sectie → Automatische Controle op PO-updates Zet de knop om deze instelling in te schakelen.
Wanneer ingeschakeld, biedt het systeem een visuele indicator in het Aankooporder Matching scherm telkens wanneer een aankooporder is bijgewerkt. Dit pictogram geeft aan dat de aankooporder moet worden vernieuwd om ervoor te zorgen dat gebruikers werken met de meest actuele informatie voordat ze beslissingen nemen.
Om de aankooporder te vernieuwen, klik je op het ververspictogram naast het aankoopordernummer (zie afbeelding hieronder).
Ga naar Instellingen → Algemene Instellingen → Documenttypen → Meer Instellingen → Aankooporder Sectie → PO Tolerantie Instelling
Wanneer ingeschakeld, stelt deze instelling je in staat om toleranties voor Hoeveelheid en/of Eenheidsprijs te definiëren. Deze toleranties kunnen worden ingesteld als een percentage of als een vast bedrag. Dit betekent dat een factuur kan afwijken van de aankooporder (PO) binnen het opgegeven tolerantiebereik zonder als een mismatch te worden gemarkeerd, wat flexibiliteit biedt terwijl een naadloze verwerking wordt gegarandeerd.
OPMERKING: Toleranties werken in beide richtingen; dat wil zeggen, de factuurwaarde kan zowel hoger als lager zijn dan de PO-waarde binnen het toegestane bereik.
Schakel de Instelling In:
Zet de PO Tolerantie Instelling aan met de schakelaar.
Configureer Toleranties:
Er verschijnen vier velden:
Eén veld voor het Hoeveelheid Tolerantie Bedrag.
Eén veld voor het Eenheidsprijs Tolerantie Bedrag.
Achter elk veld is er een dropdownmenu waar je het type tolerantie kunt selecteren:
Percentage: Geeft een percentage tolerantie aan.
Waarde: Geeft een vast bedrag aan waar het bedrag van kan afwijken.
Stel dat de Eenheidsprijs Tolerantie is ingesteld op 5%.
De aankooporder bevat twee regels:
Regel 1: Eenheidsprijs = $5.00
Regel 2: Eenheidsprijs = $2.00
Op de factuur:
Regel 1: De eenheidsprijs is aangepast naar $4.80 (binnen de 5% tolerantie).
Regel 2: De eenheidsprijs is aangepast naar $2.20 (buiten de 5% tolerantie).
Resultaat:
Regel 1 is niet gemarkeerd als een mismatch omdat $4.80 binnen 5% van $5.00 ligt.
Regel 2 is gemarkeerd als een mismatch omdat $2.20 de toegestane 5% afwijking van $2.00 overschrijdt. De gebruiker moet nu actie ondernemen om de mismatch op te lossen voordat de factuur verder kan worden verwerkt.
Ga naar Instellingen → Algemene Instellingen → Documenttypen → Meer Instellingen → Aankooporder Sectie → Extra PO Tolerantie Instelling
Wanneer ingeschakeld, stelt deze instelling je in staat om toleranties voor Vracht, Kosten, en/of Belasting te definiëren. Deze toleranties kunnen worden ingesteld als een percentage of als een vast bedrag, waardoor facturen iets kunnen afwijken van de PO-waarden zonder als mismatches te worden gemarkeerd. Dit biedt extra flexibiliteit en zorgt ervoor dat kleine verschillen de workflow niet onderbreken.
OPMERKING: Net als de standaard tolerantie-instellingen, zijn deze toleranties van toepassing in beide richtingen—waardoor verhogingen of verlagingen binnen de ingestelde limieten zijn toegestaan.
Schakel de Instelling In:
Zet de Extra PO Tolerantie Instelling aan met de schakelaar.
Configureer Toleranties:
Zes velden worden zichtbaar:
Eén veld voor de tolerantiebedragen voor Vracht, Kosten, en Belasting.
Elk veld heeft een bijbehorend dropdownmenu waar je het type tolerantie kunt kiezen:
Percentage: De tolerantie wordt gedefinieerd als een percentage.
Waarde: De tolerantie wordt gedefinieerd als een vast bedrag.