> For the complete documentation index, see [llms.txt](https://docs.docbits.com/llms.txt). Markdown versions of documentation pages are available by appending `.md` to page URLs; this page is available as [Markdown](https://docs.docbits.com/chinese/infor-ji-cheng-yu-pei-zhi/exporting-to-infor/m3.md).
# M3
## 第 1 步:创建连接点
1. 导航至 **OS > ION > Connect > Connection Points**
2. 点击 **Add**,然后选择 **IMS via API Gateway** 作为连接类型。
3. 配置以下设置:
* **Name**:设置为 `DocBits_Export`。
* **Description**:设置为 `DocBits_Export`。
* **取消勾选**:*Application has IMS End Point*。
* **ION API Client ID**:
* 打开 ION API 文件。
* 在文件中搜索 `"ci"`。
* 复制引号内的值(不包括引号)。
4. 在 **Documents** 下添加 `Sync.CaptureDocument`。
5. 点击 **Save**,完成配置。
## 第 2 步:上传映射
{% file src="/files/Dlb6ISWaZdgVCv27CsZ6" %}
1. 下载 M3 映射文件。
2. 导航至 **Infor** > **OS** > **ION** > **Connect** > **Mappings**。
3. 点击 **Import**,并选择适用于 **M3** 的映射文件。
4. 文件导入后,批准这些映射以激活它们。
## 第 3 步:创建数据流
1. 导航至 **OS** -> **ION** -> **Connect** -> **Data Flows**。
2. 点击 **Add**,然后选择 **Document Flow**。
3. 填写详细信息:
* **Name**:`DocBits_Export_to_M3`
4. 向数据流添加节点:
#### 应用程序节点
1. 向数据流添加一个 **Application Node**。
* **Name**:`DocBits` 或 `DocBits-Export`。
2. 点击 **Add**,然后选择第 1 步中创建的 **Connection Point**。
3. 点击应用程序节点旁的 **Document Icon**。
* 点击 **Add**,然后选择 `Sync.CaptureDocument`。
#### 映射节点
1. 在应用程序节点右侧添加一个 **Mapping Node**。
* **Name**:`Capt2process`。
* **Mapping**:`CaptureDocument_to_ProcessSupplierInvoice`。
#### 应用程序节点
1. 在上一个映射节点右侧添加一个 **Application Node**。
* **Name**:`M3`。
2. 点击 **Add**,然后选择客户的 **M3 Application**。
3. 点击应用程序节点旁的 **Document Icon**。
* 点击 **Add**,然后选择 `Acknowledge.SupplierInvoice`。
#### API 节点
1. 在应用程序节点右侧添加一个 **API Node**。
* **Name**:`DocBits-Error`。
* **ION API Connector**:`DocBits_Import`。
* 如果 `DocBits_Import` 不存在,请参阅从 M3 导入文档中的 **第 1 步**和**第 2 步**来创建连接点。
#### 保存并激活数据流
* 添加并配置所有节点后,点击 **Save**。
* 激活数据流以完成设置。
## 第 4 步:在 DocBits 中配置导出
### 本地部署:
1. 打开 **DocBits**。
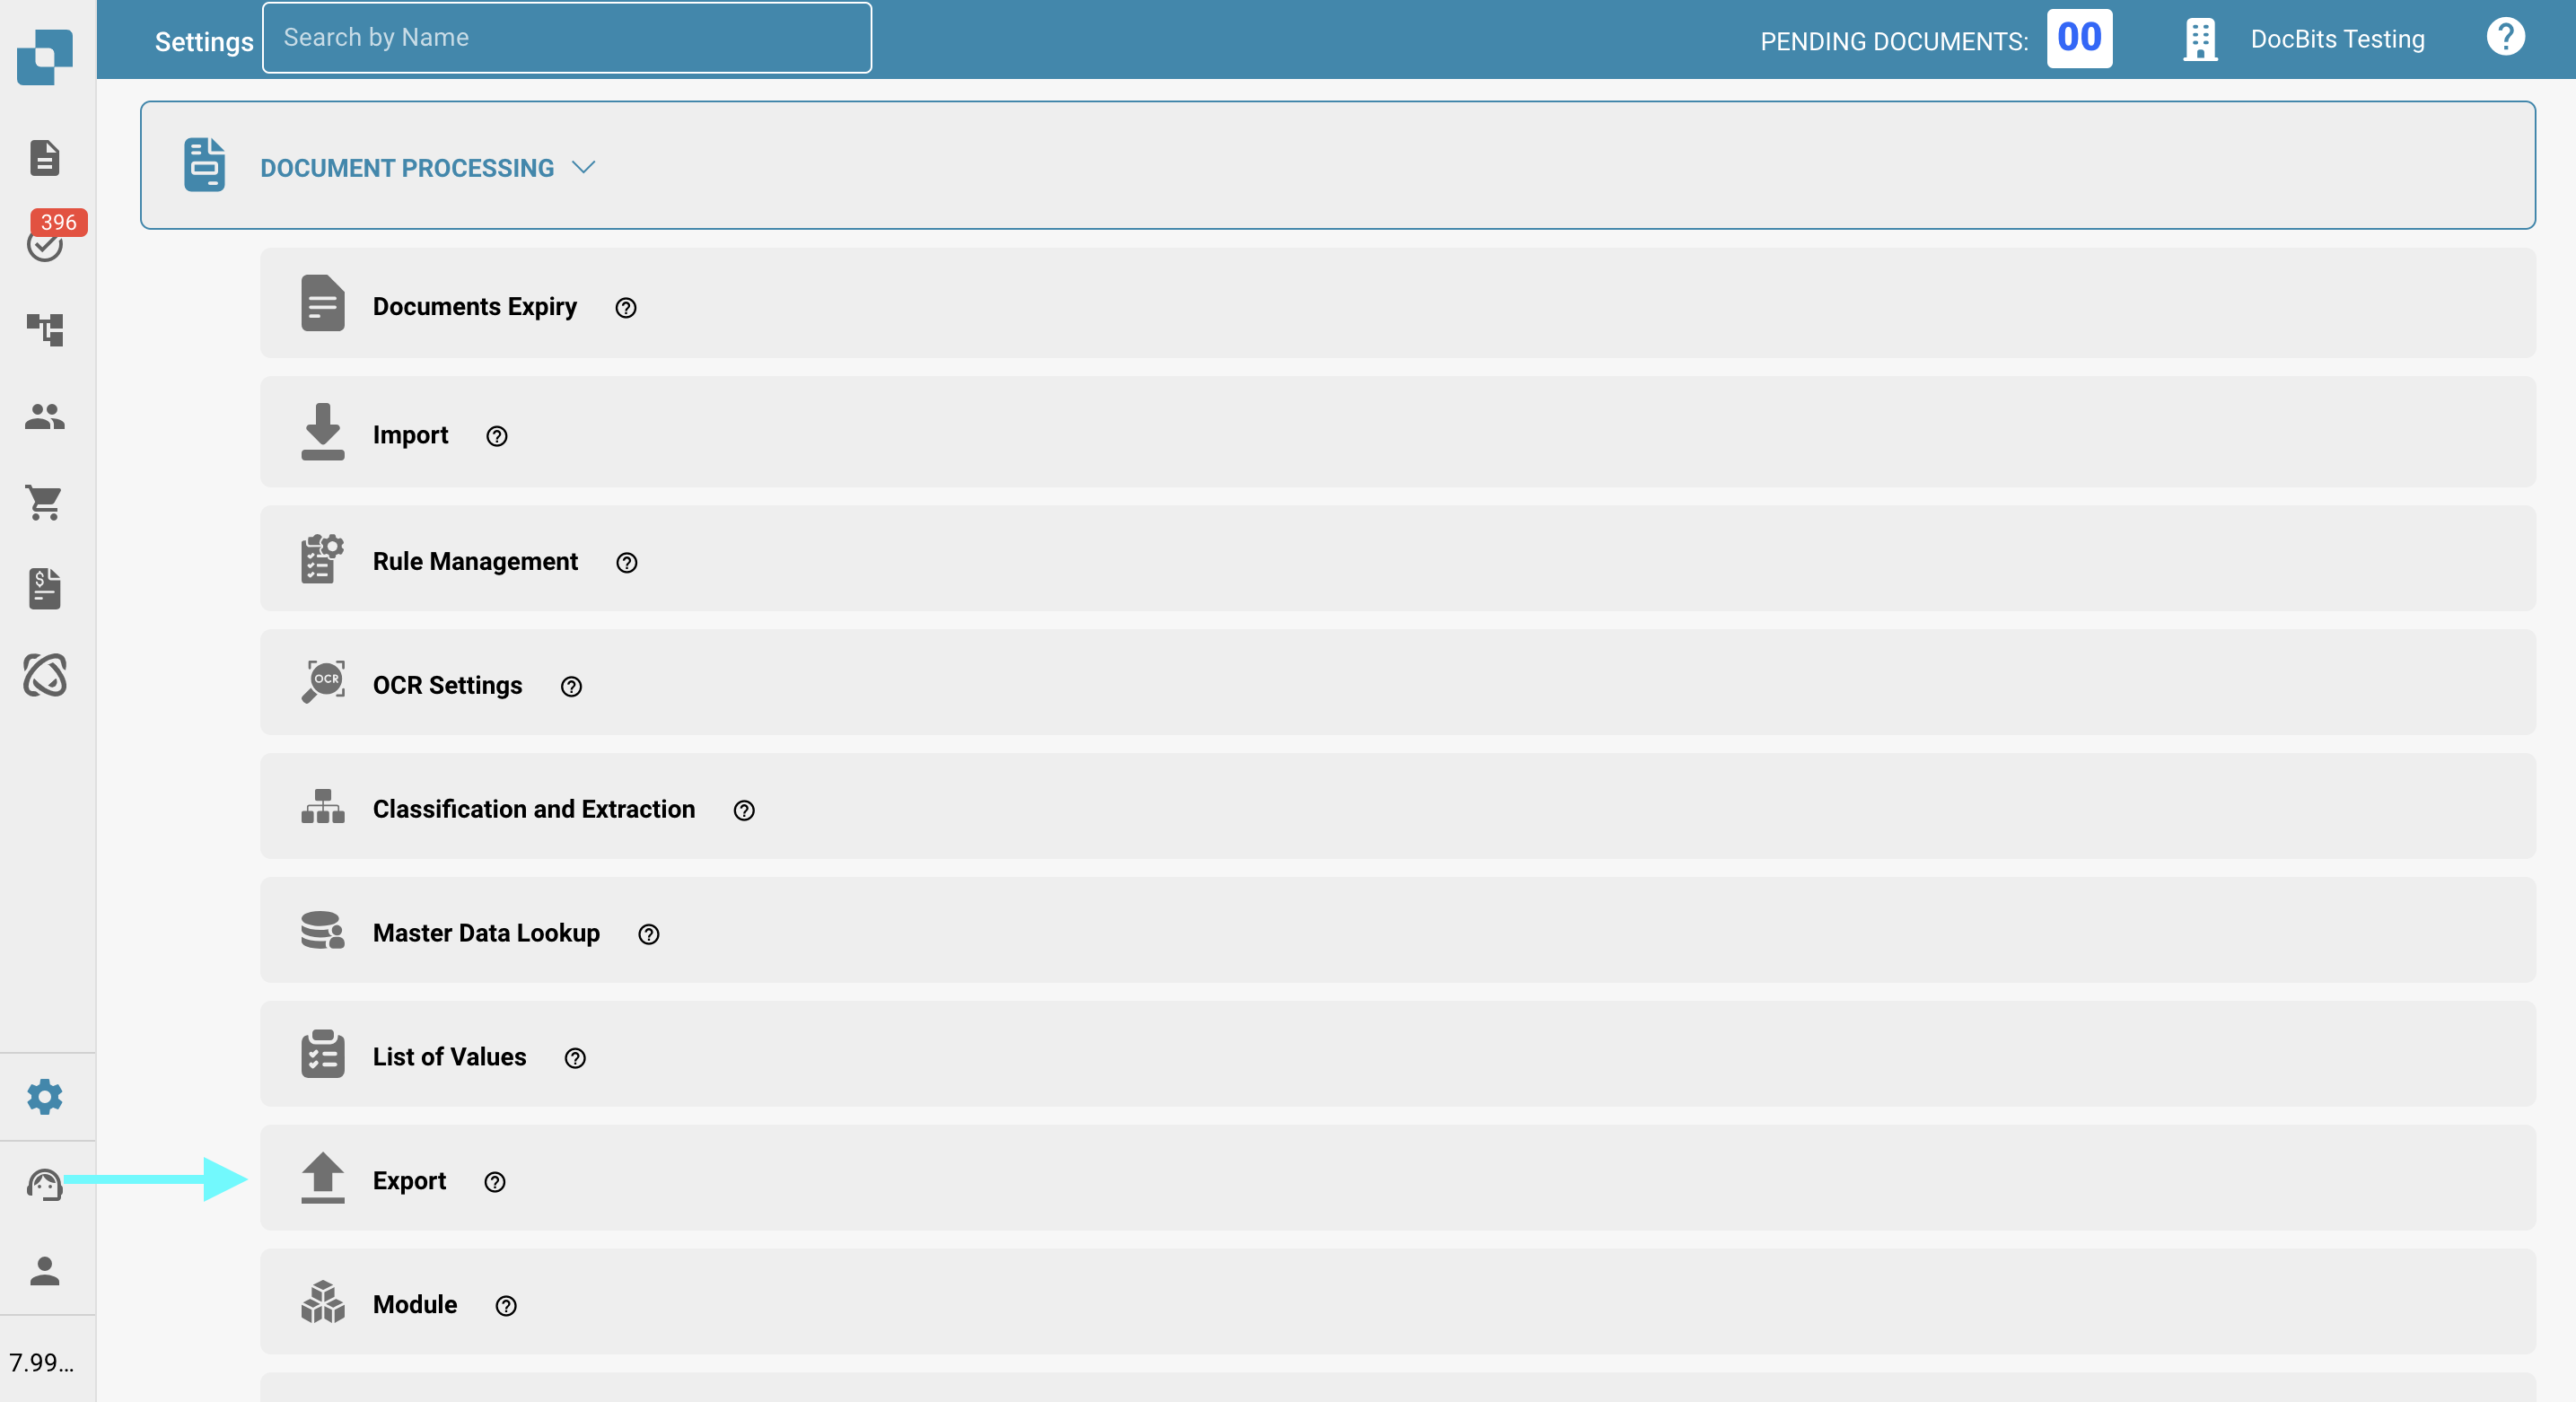
2. 导航至 **Settings > Document Processing > Export**。
3. 创建新的导出:
* **选择**:**Infor IDM + ION BOD**。
* **Title**:选择一个有意义的标题。
* **Document Type**:设置为 **Invoice**。
* **Sub-Organization**:可以留空,也可以根据需要设置为特定子组织。
4. 上传所需文件:
* **ION Mapping File**:可在 **Infor OS → API Gateway → Authorized Apps** 中找到。找到 **DocBits** 应用,打开并下载凭据。
* **IDM Mapping File**:(提供相关文件路径或位置)。
* **BOD Mapping File**:(提供相关文件路径或位置)。
### 云端:
1. 打开 **DocBits**。
2. 导航至 **Settings > Document Processing > Export**。
3. 创建新的导出:
* **选择**:**Infor IDM + M3 (API)**。
* **Title**:选择一个有意义的标题。
* **Document Type**:设置为 **Invoice**。
* **Sub-Organization**:可以留空,也可以根据需要设置为特定子组织。
4. 上传所需文件:
* **ION Mapping File**:可在 **Infor OS → API Gateway → Authorized Apps** 中找到。找到 **DocBits** 应用,打开并下载凭据。
* **IDM Mapping File**:(提供相关文件路径或位置)。
* **M3 Mapping File**:(提供相关文件路径或位置)。
### 使用 toml 的云端:
1. 打开 **DocBits**。
2. 导航至 **Settings > Document Processing > Export**。
3. 创建新的导出:
* **选择**:**Infor IDM + M3 (API)**。
* **Title**:选择一个有意义的标题。
* **Document Type**:设置为 **Invoice**。
* **Sub-Organization**:可以留空,也可以根据需要设置为特定子组织。
4. 上传所需文件:
* **ION Mapping File**:可在 **Infor OS → API Gateway → Authorized Apps** 中找到。找到 **DocBits** 应用,打开并下载凭据。
* **IDM Mapping File**:(提供相关文件路径或位置)。
* **M3 toml Mapping File**:(提供相关文件路径或位置)。
---
# Agent Instructions
This documentation is published with GitBook. GitBook is the documentation platform designed so that both humans and AI agents can read, navigate, and reason over technical content effectively. Learn more at gitbook.com.
## Querying This Documentation
If you need additional information that is not directly available in this page, you can query the documentation by asking a question.
Perform an HTTP GET request on the following URL with the `ask` and `goal` query parameters:
```
GET https://docs.docbits.com/chinese/infor-ji-cheng-yu-pei-zhi/exporting-to-infor/m3.md?ask=&goal=
```
`ask` is the immediate question: it should be specific, self-contained, and written in natural language.
`goal` is what the user is ultimately trying to achieve, the reason they need the answer. Sharing it helps GitBook give you a better, more relevant answer. A goal is most helpful when it describes the outcome the user wants rather than restating the question. For example, with `ask=how do I create an API token`, a goal like `automate deployments from our CI pipeline` lets GitBook tailor the answer to that use case.
The response will contain a direct answer to the question and relevant excerpts and sources from the documentation.
Use this mechanism when the answer is not explicitly present in the current page, you need clarification or additional context, or you want to retrieve related documentation sections.