{% tabs %}
{% tab title="Claude Code" %}
```bash
# 1) add the server
claude mcp add --transport http docbits https://eu.api.docbits.com/v3/mcp
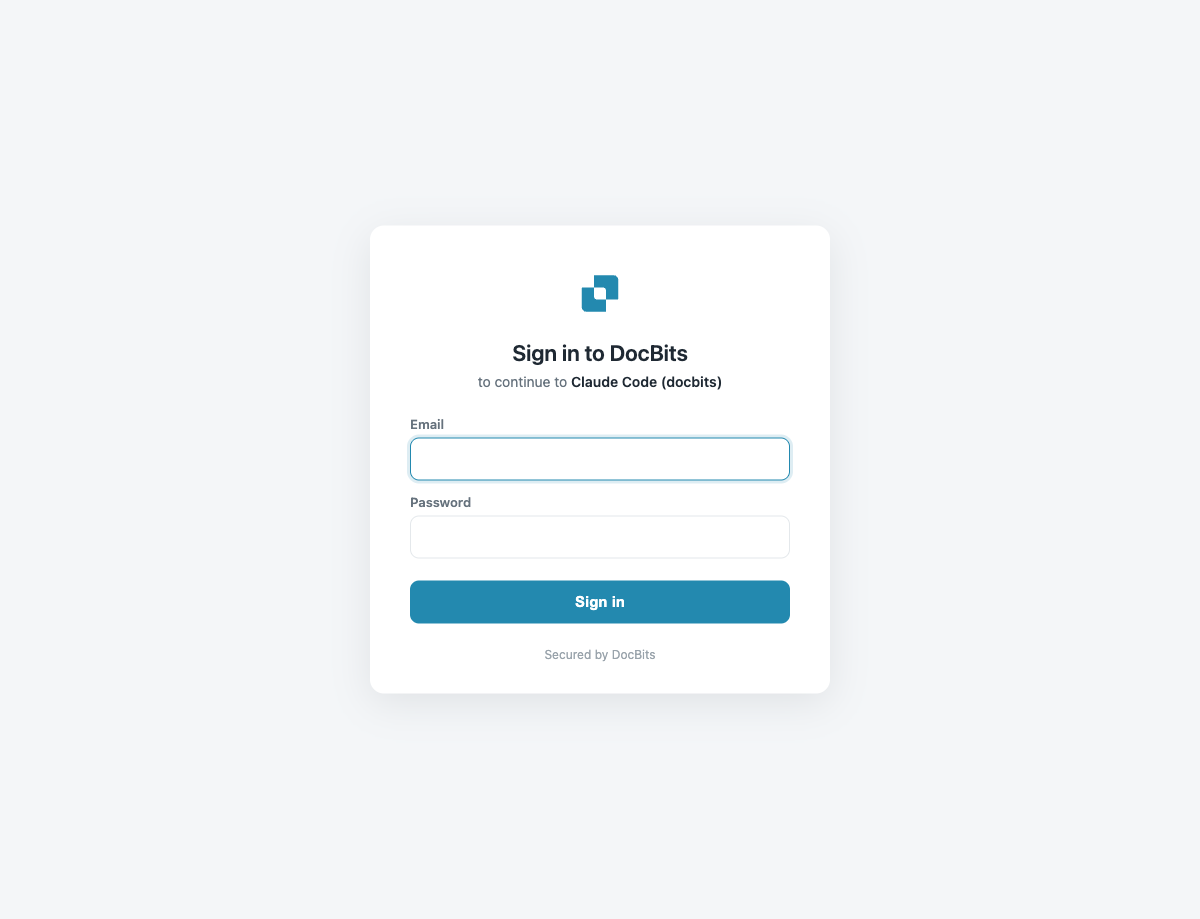
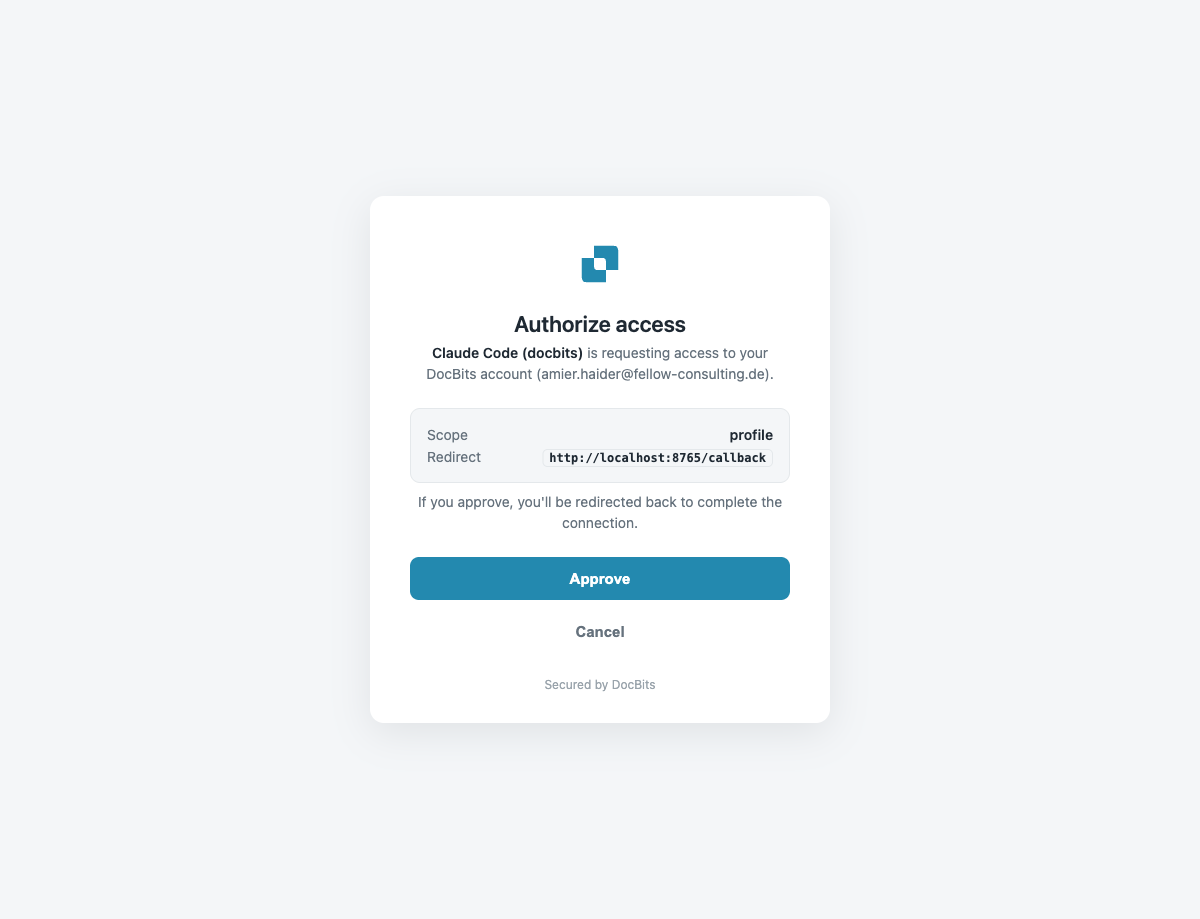
# 2) sign in (opens browser → DocBits login + consent → connected)
claude mcp login docbits
```
`claude mcp login docbits` 是 OAuth 登录步骤。成功后,可以询问 Claude:*“check the DocBits API health”* 以确认连接。
{% endtab %}
{% tab title="Gemini CLI" %}
```bash
gemini mcp add --transport http docbits https://eu.api.docbits.com/v3/mcp
```
Gemini CLI 会自动发现 OAuth 服务器。**首次**使用该服务器时,它会在浏览器中打开 DocBits 登录页面(动态客户端注册和令牌管理均由系统自动处理)。批准授权后即可连接。如有需要,可以在 Gemini 的 `/mcp` 菜单中重新触发登录。
{% endtab %}
{% tab title="OpenAI Codex" %}
```bash
codex mcp add docbits \
--url https://eu.api.docbits.com/v3/mcp \
--oauth-resource https://eu.api.docbits.com/v3/mcp
```
`--oauth-resource` 标志会指示 Codex 为此服务器执行 OAuth 登录。首次使用时,Codex 会在浏览器中打开 DocBits 登录页面;批准授权后即可连接。
{% endtab %}
{% endtabs %}
## 3. 使用 API 密钥连接(自动化)
对于无头代理、CI 或任何无法使用浏览器的环境,请跳过 OAuth,并将组织 API 密钥作为 `X-API-KEY` 标头传递。
{% tabs %}
{% tab title="Claude Code" %}
```bash
claude mcp add --transport http docbits https://eu.api.docbits.com/v3/mcp \
--header "X-API-KEY: "
```
{% endtab %}
{% tab title="Gemini CLI" %}
添加到 `~/.gemini/settings.json`:
```json
{
"mcpServers": {
"docbits": {
"httpUrl": "https://eu.api.docbits.com/v3/mcp",
"headers": { "X-API-KEY": "" }
}
}
}
```
{% endtab %}
{% tab title="OpenAI Codex" %}
添加到 `~/.codex/config.toml`:
```toml
[mcp_servers.docbits]
url = "https://eu.api.docbits.com/v3/mcp"
http_headers = { "X-API-KEY" = "" }
```
或者,将密钥保存在文件之外,并从环境中读取:
```toml
[mcp_servers.docbits]
url = "https://eu.api.docbits.com/v3/mcp"
env_http_headers = { "X-API-KEY" = "DOCBITS_API_KEY" }
```
{% endtab %}
{% endtabs %}
## OAuth 登录的工作原理(底层机制)
DocBits 实现了标准的 **MCP OAuth 2.1** 流程,因此任何兼容的客户端都可以无需手动配置即可连接:
1. 客户端调用 MCP 端点,并收到带有 `WWW-Authenticate` 标头的 `401` 响应,该标头指向受保护资源元数据。
2. 客户端读取 `/.well-known/oauth-protected-resource`,其中列出了 DocBits 身份验证服务器。
3. 客户端读取身份验证服务器的元数据,并**动态注册自身**(RFC 7591)——无需客户端密钥。
4. 浏览器会打开 DocBits 登录和授权页面。如果你已登录 Web 应用,系统会复用当前会话。
5. 客户端通过 PKCE 将授权码交换为访问令牌和刷新令牌,然后调用 MCP。
{% hint style="warning" %}
退出 DocBits **Web 应用不会断开 MCP 连接**——MCP 使用自己的令牌,并会持续运行,直到刷新令牌过期(30 天)或你从客户端移除服务器。
{% endhint %}
## 故障排查
| 症状 | 原因 / 解决方法 |
| ----------- | -------------------------------------------- |
| 登录页面始终未打开 | 确认端点主机/区域正确且可访问;某些无头环境无法打开浏览器,请改用 API 密钥。 |
| 连接后出现 `401` | 令牌已过期且没有刷新令牌(API 密钥模式不会刷新令牌)——请重新连接 / 登录。 |
| 缺少工具 | 你的用户账户/API 密钥可能没有使用这些功能的权限;请检查你的 DocBits 角色。 |
| 数据或区域错误 | 确认使用的是**你所在区域**对应的端点(EU 或 US)。 |
---
# Agent Instructions
This documentation is published with GitBook. GitBook is the documentation platform designed so that both humans and AI agents can read, navigate, and reason over technical content effectively. Learn more at gitbook.com.
## Querying This Documentation
If you need additional information that is not directly available in this page, you can query the documentation by asking a question.
Perform an HTTP GET request on the following URL with the `ask` and `goal` query parameters:
```
GET https://docs.docbits.com/chinese/gao-ji-gong-neng-yu-gong-ju/docbits-mcp/setup-and-configuration.md?ask=&goal=
```
`ask` is the immediate question: it should be specific, self-contained, and written in natural language.
`goal` is what the user is ultimately trying to achieve, the reason they need the answer. Sharing it helps GitBook give you a better, more relevant answer. A goal is most helpful when it describes the outcome the user wants rather than restating the question. For example, with `ask=how do I create an API token`, a goal like `automate deployments from our CI pipeline` lets GitBook tailor the answer to that use case.
The response will contain a direct answer to the question and relevant excerpts and sources from the documentation.
Use this mechanism when the answer is not explicitly present in the current page, you need clarification or additional context, or you want to retrieve related documentation sections.